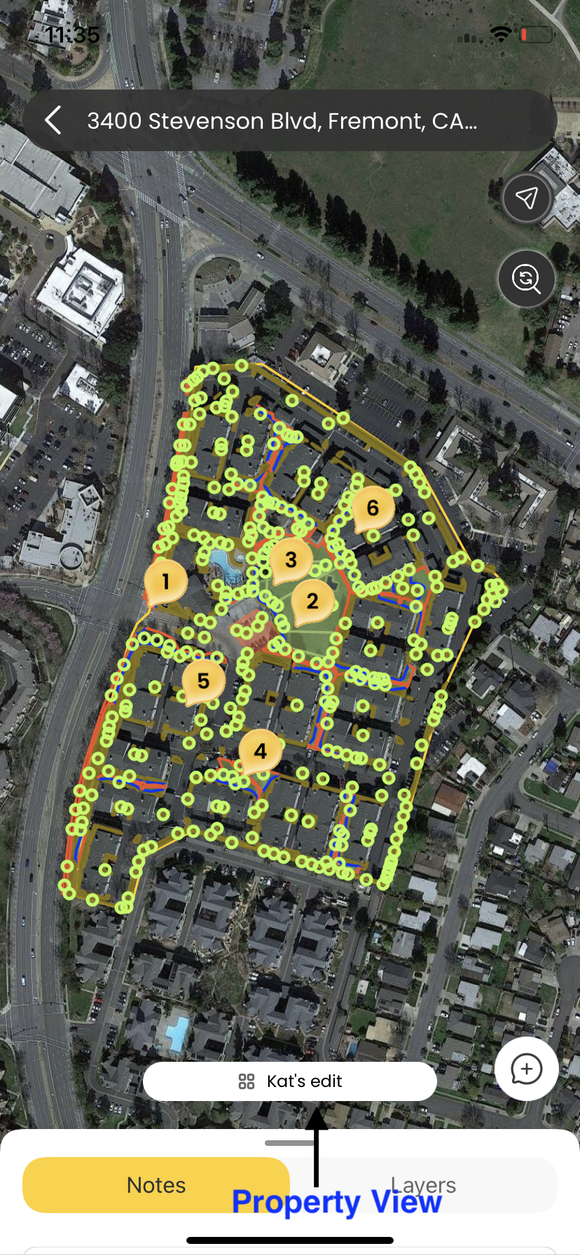
- Click on the tab displaying the property view information
![https://helpcenter-io.s3.amazonaws.com/uploads/siterecon/9MCdrvOtr3V6nS0jYzAU5xpK2ReGiQzD2QrMf1AH-image.png](https://helpcenter-io.s3.amazonaws.com/uploads/siterecon/9MCdrvOtr3V6nS0jYzAU5xpK2ReGiQzD2QrMf1AH-image.png)
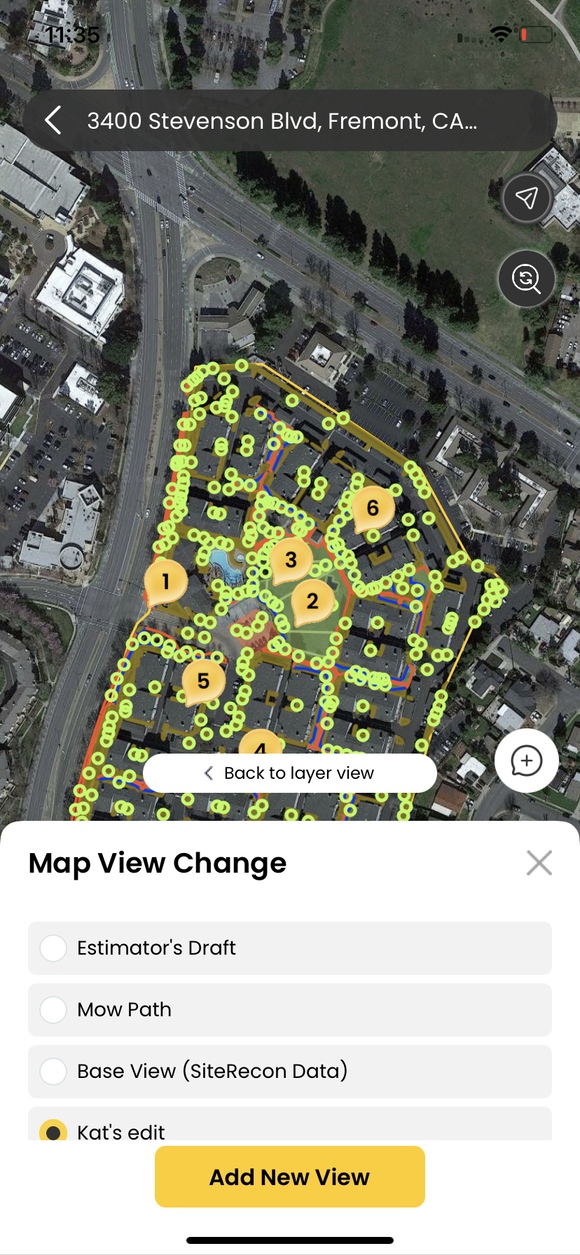
- To begin adding a new view to the property map, click add new view. From here, you can also switch between the already created property views.
![https://helpcenter-io.s3.amazonaws.com/uploads/siterecon/zYOMBVhLZzGTyDMiKDLZw5mTsIUGlMgPxnoXhkwv-image.png](https://helpcenter-io.s3.amazonaws.com/uploads/siterecon/zYOMBVhLZzGTyDMiKDLZw5mTsIUGlMgPxnoXhkwv-image.png)
- Name your view appropriately, select the Layer you want to copy the data from and finally click Create to add the property view.
![https://helpcenter-io.s3.amazonaws.com/uploads/siterecon/vfMtNLrRQJImoFKEaBx56kvaJFhFE4f9PrYlLvaE-image.png](https://helpcenter-io.s3.amazonaws.com/uploads/siterecon/vfMtNLrRQJImoFKEaBx56kvaJFhFE4f9PrYlLvaE-image.png)
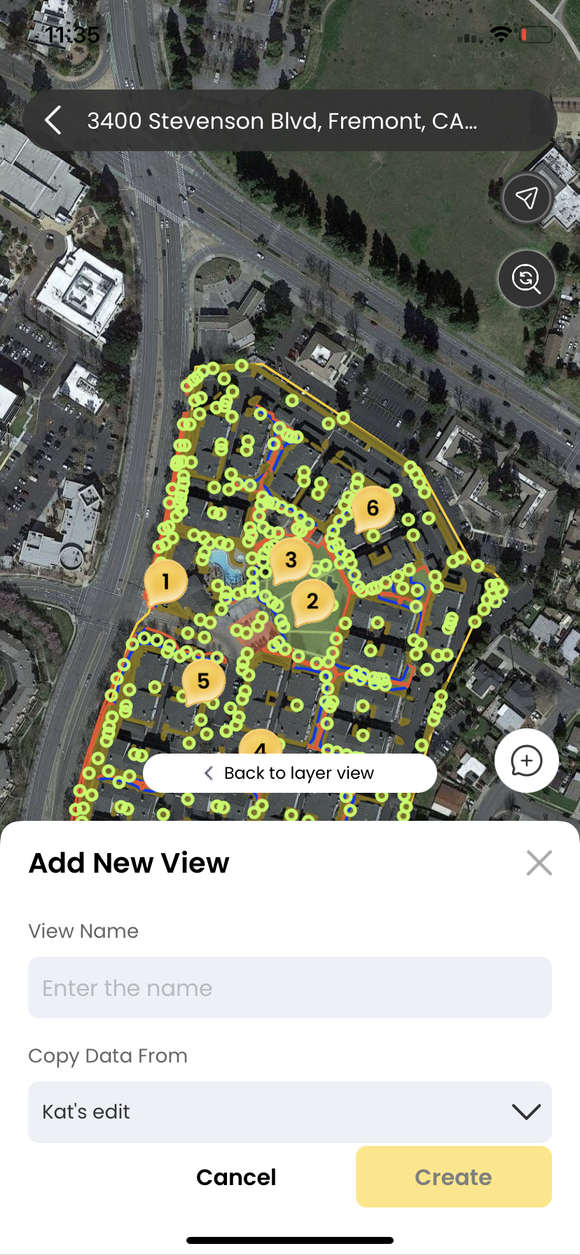
Currently only available on the iOS app, adding a new property view option will soon be be available on the Android app.